Hey everyone, it is Jim, welcome to my recipe site. Today, I will show you a way to prepare a distinctive dish, taisen's cheesey garlic bread. One of my favorites. This time, I am going to make it a bit tasty. This is gonna smell and look delicious.
Taisen's cheesey garlic bread is one of the most well liked of recent trending foods in the world. It is enjoyed by millions every day. It’s easy, it is quick, it tastes delicious. Taisen's cheesey garlic bread is something that I’ve loved my entire life. They’re nice and they look wonderful.
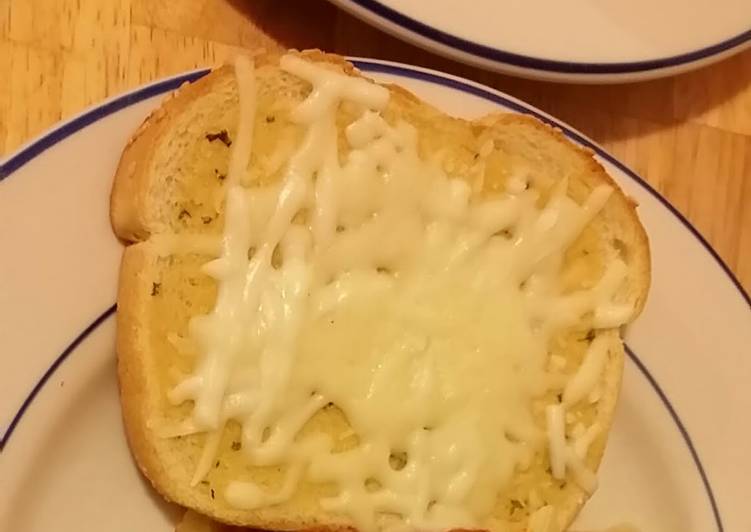
Learn how to make cheesy garlic bread! Soft, warm, garlicy, cheesy and stringy.this is so easy yet so delicious! The perfect side to a big bowl of.
To get started with this particular recipe, we must first prepare a few ingredients. You can cook taisen's cheesey garlic bread using 6 ingredients and 10 steps. Here is how you cook that.
The ingredients needed to make Taisen's cheesey garlic bread:
- Prepare 1 Italian bread slices, with or without seeds on the crust (you can use any kind of bread and however many slices you need)
- Take 1 melted butter (depending on how many slices your making is how much butter you need) enough to cover 1 side of each slice
- Get 1 garlic powder (to your taste)
- Get 1 garlic salt (use carefully as you don't want much salt)
- Take 1 chopped parsley or parsley flakes (just a little)
- Take 1 mozzarella cheese (as much as you like). optional
Cut into slices and enjoy it hot from the oven. Pull-Apart Cheesy Garlic Bread will have your guests pinching and dipping all evening! There are very few foods that have the comforting, almost sedative, effect of warm aromatic bread. Throughout the year, we try to keep carbs on the down-low, only. #garlicbread #Cheesebread#recipesoftheworld.
Instructions to make Taisen's cheesey garlic bread:
- Preheat your oven to 300°F
- Melt butter in a saucepan or frying pan. Allow to cool just a little so that it is a little thick and not runny
- After the butter is melted, remove from heat and add in garlic powder, garlic salt and parsley. Mix together. Mine started to make a bit of a paste from the butter cooling and the powder.
- Cover a cookie sheet with wax paper, and place your slices of bread onto the wax paper.
- You can leave this out if you prefer, but to 1 slice I spread butter on it first before spreading the melted butter and spices. It honestly was much better. Your choice !
- Take a knife and spread on the butter and spice mix onto one side of each piece. You can do both sides if you like for more butter and garlic flavor.
- Place the cookie sheet into the oven. Depending on how crispy you want your bread is how long you will keep it in the oven. Keep an eye on it as you don't want it to burn. About 5 to 8 minutes. If your oven runs hotter, less time and if it runs lower then longer time. My oven likes to do both so I play it by checking it constantly. (every 2 minutes)
- After they get to a nice crisp, pull them out of the oven. Sprinkle mozzarella cheese over top. As much or as little as you like. You can use any cheese you like, or mix several different cheeses for this.
- Place the bread back into the oven only until the cheese is melted.
- Serve and enjoy with any dish you like garlic bread with or alone with a marinara sauce as a snack !
Thank you for Watching "' Ingredients. Easy Cheesy Garlic Bread is made with just four ingredients and bound to become a family favorite! Really, all the butters are lovely. When combined with Parmesan cheese and slathered all over bread, it's perfect! These easy cheesy garlic bread sticks are made with fresh garlic, shredded mozzarella and parmesan cheeses, and hot dog buns.
So that is going to wrap it up with this exceptional food taisen's cheesey garlic bread recipe. Thank you very much for your time. I’m confident you can make this at home. There’s gonna be interesting food in home recipes coming up. Remember to save this page in your browser, and share it to your loved ones, colleague and friends. Thank you for reading. Go on get cooking!