Hey everyone, it’s Drew, welcome to my recipe page. Today, I will show you a way to make a distinctive dish, sourdough starter. One of my favorites food recipes. For mine, I’m gonna make it a little bit unique. This will be really delicious.
Sourdough starter is one of the most favored of current trending meals in the world. It’s easy, it is quick, it tastes yummy. It is enjoyed by millions every day. They’re nice and they look fantastic. Sourdough starter is something that I’ve loved my entire life.
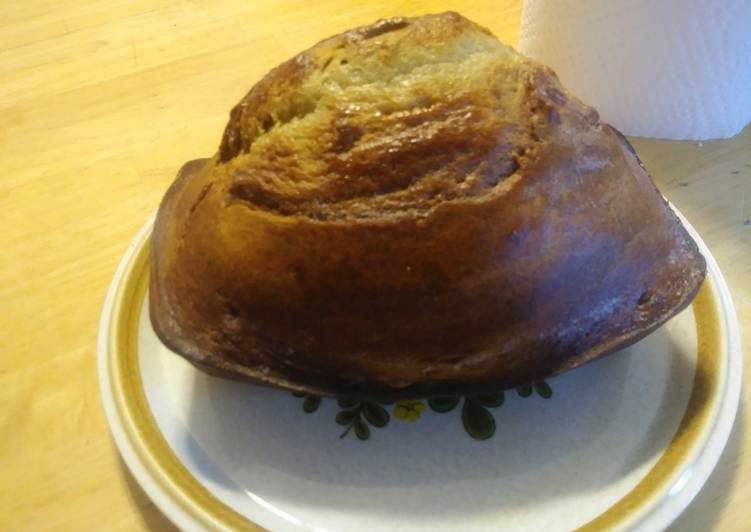
This was my first successful sourdough starter! A homemade sourdough starter is a bread baker's pantry staple — though it does take some tending. Here our method for getting one going from scratch; though it'll take a few days longer to get.
To begin with this particular recipe, we must prepare a few components. You can cook sourdough starter using 6 ingredients and 11 steps. Here is how you cook that.
The ingredients needed to make Sourdough starter:
- Make ready 1 Day
- Get 25 g water
- Take 25 g plain flour
- Take 2 Day
- Get 50 g water
- Prepare 50 g plain flour
This is a rough outline of the process, based on testing and expert input (for another very detailed template for sourdough starters, check out Kristen Dennis's starter tutorial. Note that while this and the following steps list specific days on which feeding frequency and. Making a sourdough starter takes about one week, but it can sometimes take longer. Begin by stirring a paste of equal amount of flour and water together in a jar and letting it sit in a warm room, stirring, and feeding at regular intervals.
Instructions to make Sourdough starter:
- Add flour and water to a suitable lidded container and stir until well combined.
- Pop the lid on and leave in a warm spot out of direct sunlight.
- Day 2, you will find the mixture is thickened and begins to show some small bubbles and separation. Simply add 50g flour and 50g water and stir into mixture. Pop lid back on and pop it back in the warm spot.
- Day 3 you may decide to remove a tablespoon or two from the mixture so you don't end up with too much. Once you gave done this put the discard aside and use it to make pancakes or in another recipe. Some people throw it away but I hate to waste!
- Weigh the remaining sourdough starter. Whatever the weight you aim to double it by adding half the amount of water and half flour.
- Keep using the same type of flour. Don't for example start with plain flour then switch to wholemeal.
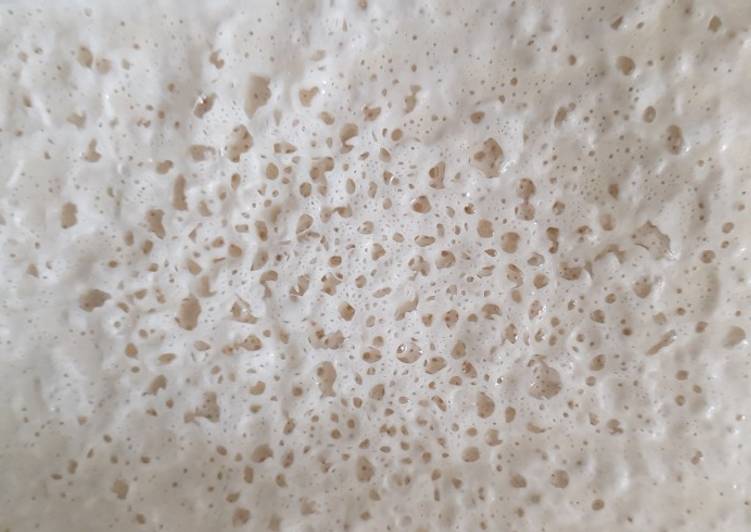
- Each day the starter will look a little unpleasant. It will begin to have a sour smell and when hungry will produce a watery yellowish substance called hooch. This can be carefully discarded before feeding with flour and water.
- If you want to keep track of activity, since it's best used when active to make bread, pop a post it on container to mark the top of the mixture. You can then easily see if it has grown in size.
- If you want to wait before the next feeding, for example if you run out of flour, just pop it in the fridge.
- Keep maintaining it this way and it will last a very long time. Just use what you need in the recipe. If however you notice any black spots, this is mould and you need to throw it away and start over. This hasn't happened to me so far.
- Some people like to name their pet yeast too lol.
A sourdough starter is a collection of wild yeasts naturally found everywhere, from the air in your home to the flour you're using. Whole-grain flours contain more of the wheat kernel, so they. Or you can stash your starter in the fridge once it's established and bake from it once a week. Each day you "feed" the starter with equal amounts of fresh flour and water. As the wild yeast grows stronger, the starter will become more frothy and sour-smelling.
So that is going to wrap it up for this special food sourdough starter recipe. Thank you very much for reading. I am confident you will make this at home. There’s gonna be interesting food in home recipes coming up. Don’t forget to save this page on your browser, and share it to your family, friends and colleague. Thank you for reading. Go on get cooking!